

Rustic Grove Cork Panel Installation
Read carefully before installation.
Tools needed:
- Tape measure
- 4-foot level
- Loctite® PL Premium or Manus 75 AM HV tube adhesive
- Hammer and 3d/1.25″ finish nails OR
- Brad nailer
- Miter box (manual or power), table saw or circular saw
- Safety goggles
Step 1
Open boxes of Cork Wall Panels in the room in which it will be installed. Cork Wall Panels must acclimate to the conditions of the room for a minimum of 72 hours. Note: this product is not to be used in high-humidity areas. Cutting the panels if necessary should be dome with a miter saw. Either a manual miter box or powered miter saw work well. Always follow manufacturer’s directions.
.
Step 2
Before installation, make sure that the surface is clean, flat and dry. If you are installing over a drywalled wall that is painted a color, we recommend you paint the wall to a similar color as the panels to be installed so the wall color will not show through any possible seams between the panels.
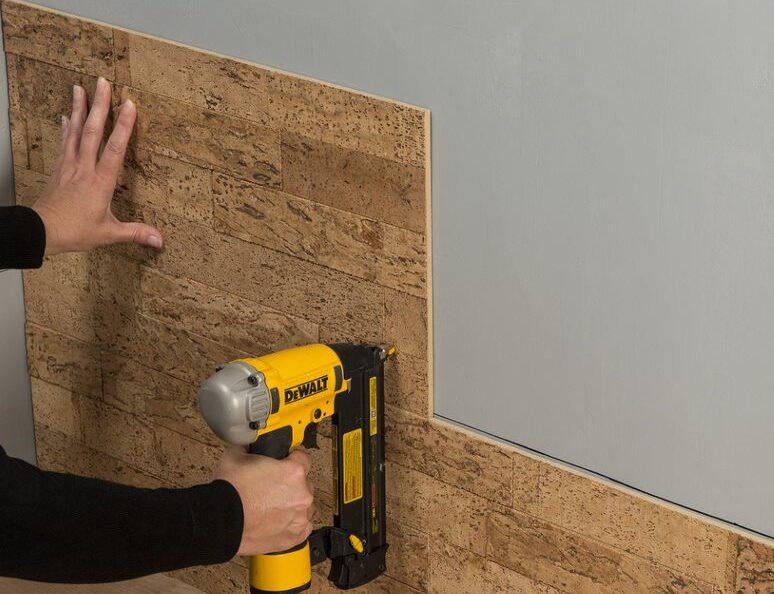
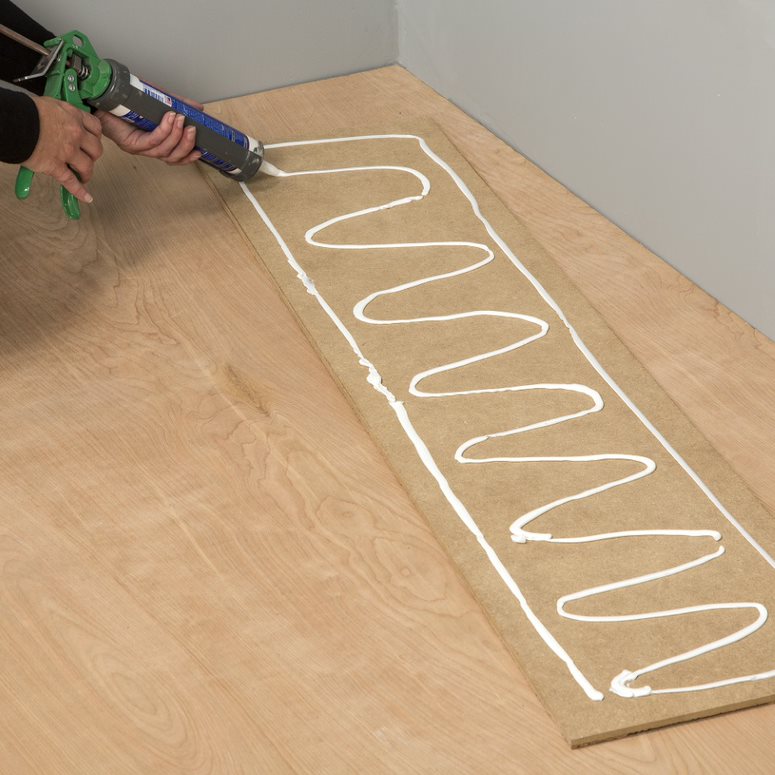
Step 3
Recommended installation is with recommended tube adhesive (see above) and to be nailed with a brad gun or a hammer and finishing nails. Each Cork Wall Panel should have a bead of adhesive 1″ from all outside edges and a single bead applied down the center of the panel (see above picture). Recommended brad nail length is 1-1/4″. Apply brads/nails approximately 1/2″ from outside edges of panels and into studs when possible (see above picture). If a brad gun is not available, use 3d x 1-1/4″ finish nails along with a nail head slightly below the surface of the panel.
Horizontal Install
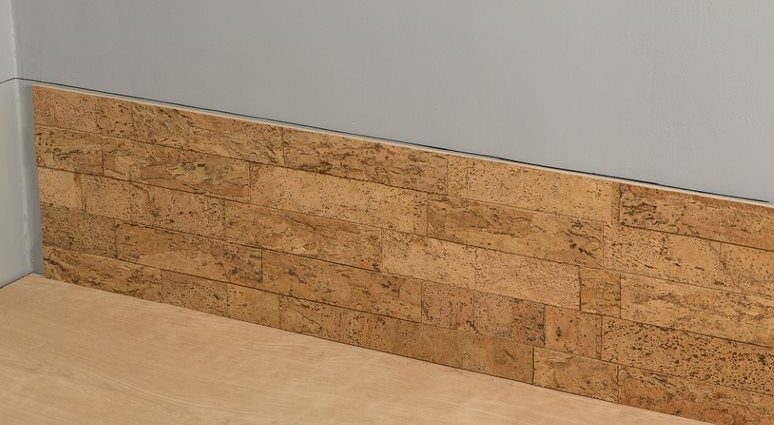
Starting on the floor, draw or snap a level line for reference at 13.5″ from the floor. Next, attach the first Cork Wall Panel in the left corner and add construction adhesive to the back of the panel and nail into place (see instructions to left). Repeat this process until you reach the right wall cutting the pieces as needed. Stagger the next row of panels over the joints and cut pieces to fit as needed until you reach the top termination point. Finally, add wood trim at the floor to finish your installations, if desired.
Vertical Install
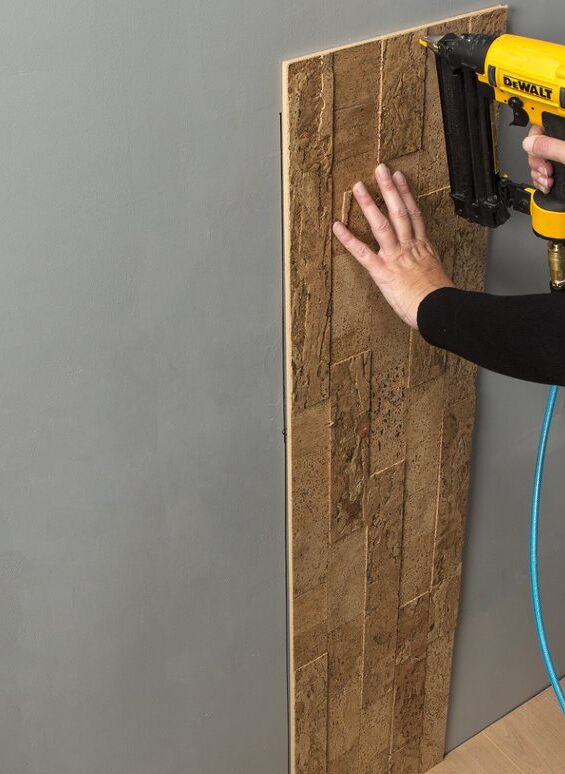
Start by finding the center of the wall and mark its location on the floor. Using a level to make it plumb, install the first panel on the wall centered on the mark with construction adhesive and nail in place with a brad gun (see instructions to left). Use a level to make sure it is plumb. Next, attach panels on the left and right of first centered panel until you reach the corners of both walls. The width of the final panel at each corner will need to be trimmed to fit.